It starts with that annoying, rhythmic clicking. Or maybe a gurgling sound that makes your living room feel like it’s underwater. You touch the top of the radiator and it’s ice cold, while the bottom is piping hot. You know exactly what’s happening: air is trapped in the system. But then you realize the radiator key you bought three years ago has vanished into the junk drawer abyss. Honestly, it’s a classic homeowner nightmare, especially when the temperature starts dropping and you're shivering in your favorite wool socks.
Most people think they’re stuck until the hardware store opens. They aren't. Learning how to bleed radiators without key access is actually a pretty basic DIY skill that most plumbers won't tell you about because it takes roughly thirty seconds to do. You just need to know what kind of valve you're looking at. If you try to force the wrong tool onto a delicate brass valve, you’re going to round off the edges, and then you're looking at a £50 repair bill instead of a free fix.
The Secret Geometry of Your Radiator Valve
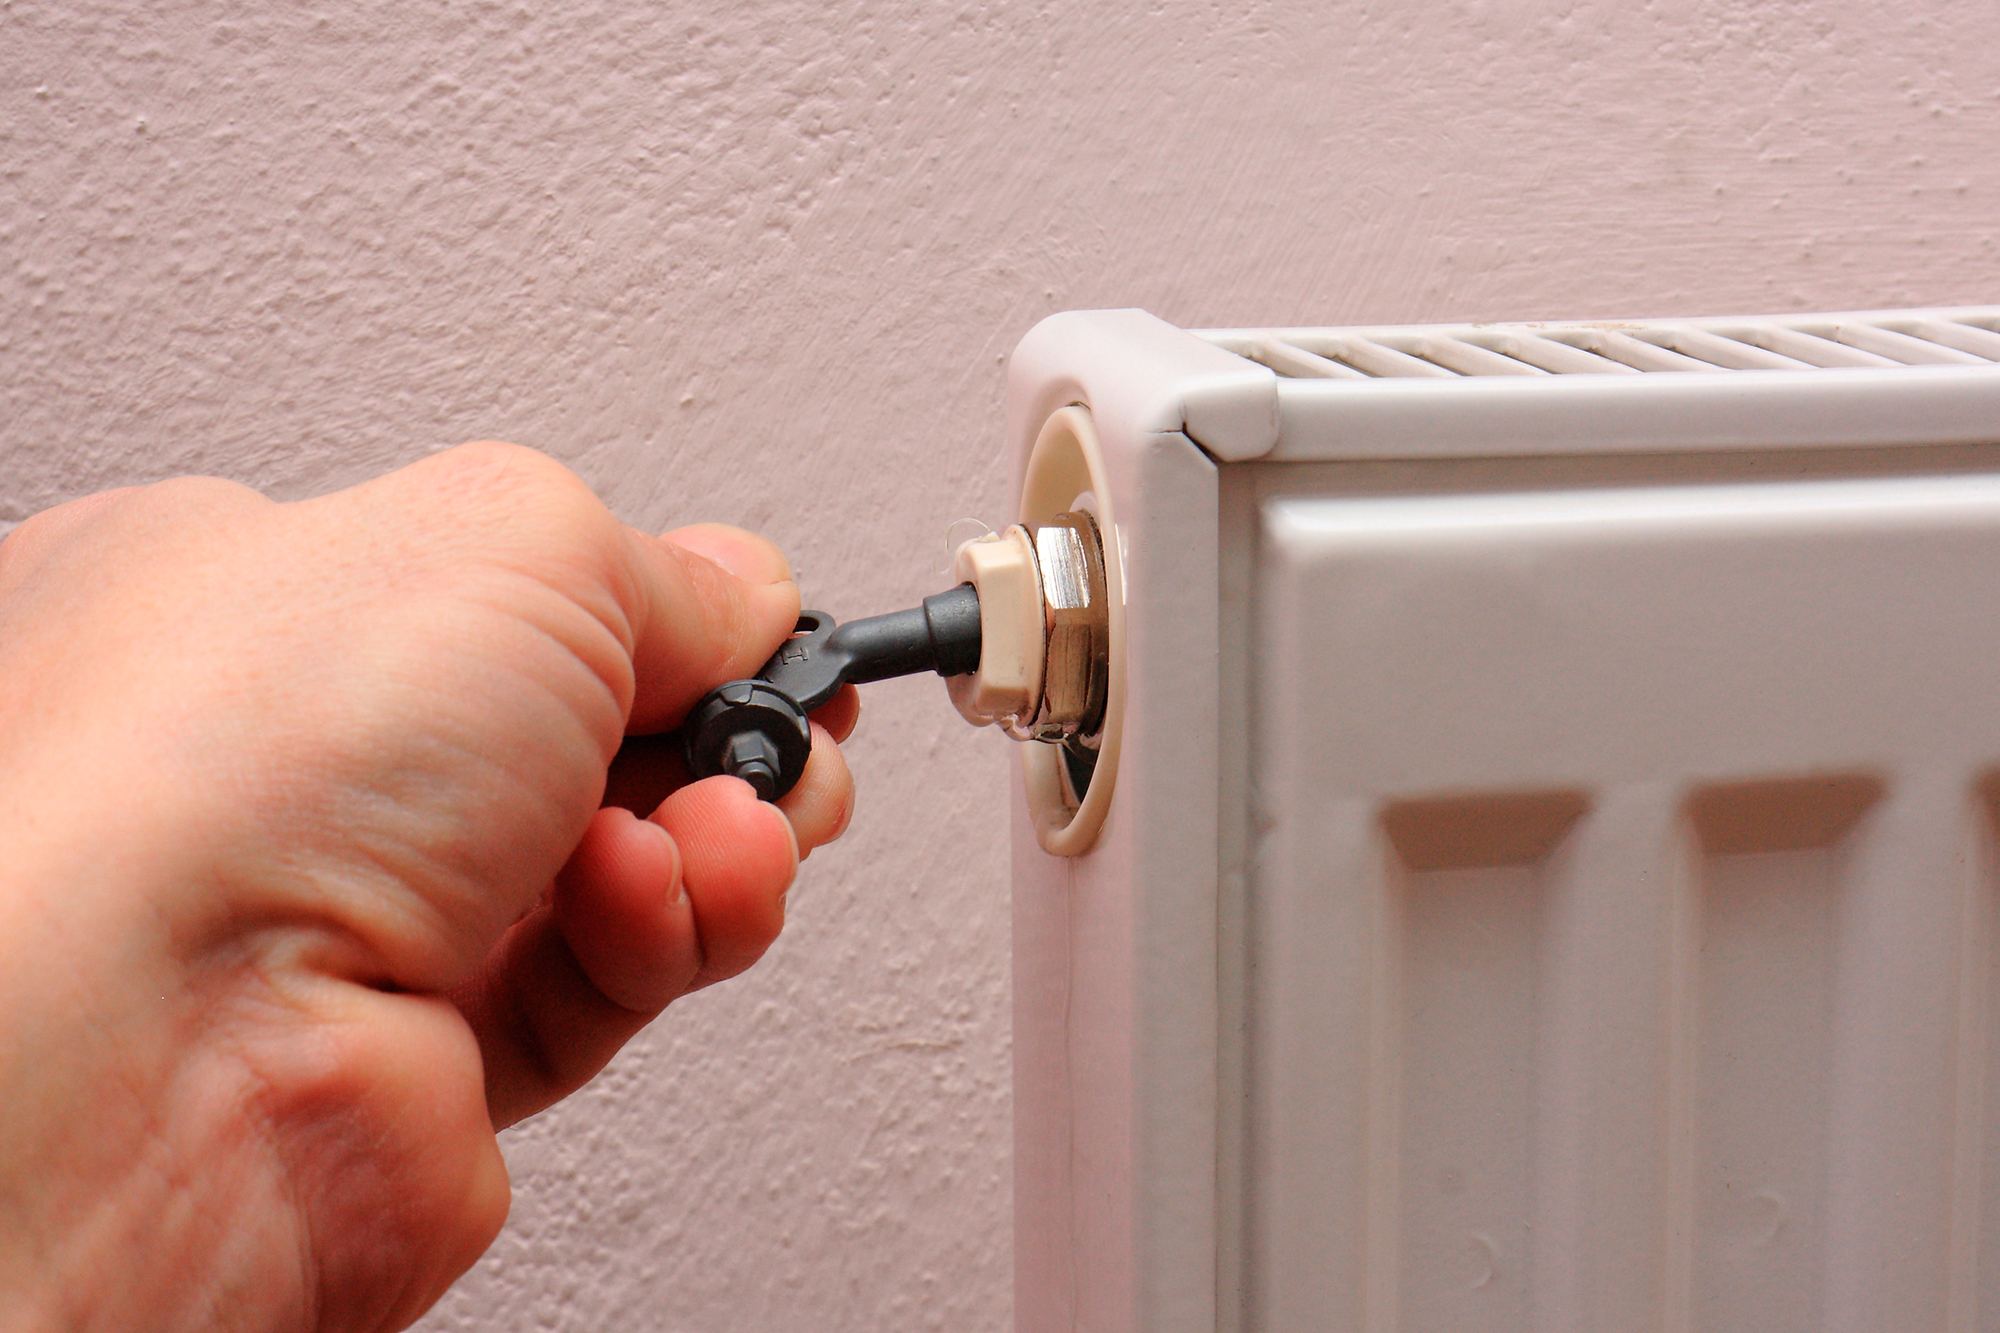
Before you grab the nearest pair of pliers, look at the end of your radiator. You’re looking for the bleed valve. Usually, it's a small round nut with a square or slotted center. Most modern radiators installed in the last decade have a "slotted" bleed screw. This is your lucky day. If there’s a horizontal line running right through the middle of that little square peg, you don’t need a specialized key at all.
A flat-head screwdriver will work perfectly. In fact, many professional heating engineers like those from British Gas or Worcester Bosch actually prefer using a high-quality screwdriver over those cheap, flimsy zinc keys that snap if you apply more than a pound of pressure. The screwdriver gives you better torque and a more stable grip.
But what if there is no slot? What if it’s just a naked square peg? That’s where things get a bit more creative. You’re looking for something that can grip a small, square profile without slipping.
Tools You Definitely Already Have in Your Kitchen
If the screwdriver isn't an option, don't panic. You've got options.
- Needle-nose pliers: These are the MVP of the "no-key" world. Because the bleed screw is usually recessed inside a round housing, standard bulky pliers won't fit. Needle-nose pliers can reach into that tight space. You want to grip the square sides of the bleed screw firmly and turn anti-clockwise.
- The "Allen Key" Gamble: Sometimes, specifically on certain designer or high-end European radiators, the bleed valve actually uses a hex-head internal fitting. If your valve looks like a hollowed-out hexagon instead of a protruding square, a 5mm or 6mm Allen key (hex key) will slide right in.
- A Small Spanner: If the valve sticks out far enough from the radiator body, an adjustable spanner or a small 5mm open-ended wrench can do the trick.
You have to be incredibly careful here. The metal used for bleed screws is often soft brass. If you use a tool that doesn't fit snugly, you will "round" the valve. Once those square corners become a circle, no key in the world—not even the one you eventually find in the junk drawer—will be able to open it. At that point, you’re replacing the entire bleed plug assembly.
A Step-by-Step Guide on How to Bleed Radiators Without Key Damage
First things first: turn off your heating. This isn't just a suggestion; it's a safety requirement. If the pump is running while you’re trying to bleed the system, you might actually pull more air into the radiators, or worse, the pump could spray boiling water across your wallpaper the second you crack the valve open.
- Wait for the cool down. Give it at least 30 to 60 minutes. You want the water to settle and the pressure to stabilize.
- Protect your floors. Get a thick rag and a small bowl. Old Tupperware works great. You’re going to get some "black sludge" (magnetite) coming out, and that stuff stains carpets permanently.
- Find your tool. If you’re using a screwdriver, ensure the blade fits the slot perfectly. If using pliers, grip the flat sides of the square peg, not the corners.
- The Quarter-Turn Rule. You do not need to unscrew the whole thing. Just a quarter to a half turn anti-clockwise is enough. You’ll hear a "hissing" sound. That’s the air escaping.
- Watch for the squirt. As soon as the hissing stops, a steady stream of water will follow. This is your cue to close it immediately. Turn it back clockwise until it's snug. Don't over-tighten it like you're trying to seal a submarine; just hand-tight is enough to stop the leak.
Why Does Air Get Trapped Anyway?
It feels like a design flaw, doesn't it? But it's actually just physics. When you top up your boiler or when the pump circulates water, tiny bubbles of air get introduced. Since air is lighter than water, it rises to the highest points in your heating circuit—which usually means the top of your radiators or the towel rail in the upstairs bathroom.
According to the Heating and Hotwater Industry Council (HHIC), air in your system can reduce heating efficiency by up to 15%. That means for every £100 you spend on gas or electricity, £15 is essentially being wasted on heating air pockets instead of your home. If you notice your boiler is "cycling" (turning on and off rapidly), it might be struggling to move water through those air-locked pipes.
The Risks: What Could Go Wrong?
I’m going to be honest with you: using a pair of pliers isn't the "correct" way. It’s the "I’m cold and it’s Sunday night" way. The biggest risk is a "rounded" valve. If you feel the tool slipping, stop immediately.
If you do round the valve, don't try to fix it with a drill. You'll ruin the threads and end up with a high-pressure leak you can't stop. In that scenario, you’d need to drain the system and replace the bleed plug. It's a messy job. If the valve is stuck solid and won't budge with moderate pressure, leave it alone. Apply some WD-40 or a penetrating oil, wait ten minutes, and try again. If it still won't move, it's time to call a pro or wait until you can buy a proper £2 radiator key.
Common Misconceptions About Bleeding Radiators
A lot of people think you have to bleed every radiator in the house. You don't. Only bleed the ones that have cold spots at the top. If a radiator is cold at the bottom but hot at the top, that isn't an air problem. That’s usually "sludge" or debris buildup, and bleeding it won't help one bit. You’d need a power flush for that.
Another myth? That you should bleed radiators while the heat is on high. This is actually dangerous and counterproductive. The pump creates a pressure differential that can make it harder for air to escape the valve. Always, always do it with the system off.
Dealing with the Boiler Pressure Aftermath
Here is the part everyone forgets. Once you’ve figured out how to bleed radiators without key tools and you've successfully let out all that air, your boiler pressure will drop. You've essentially removed volume from a closed system.
Check your boiler’s pressure gauge. It should usually be between 1.0 and 1.5 bar (the green zone). If it’s dropped below 1.0, your boiler might not even fire up. You’ll need to find the "filling loop"—usually a silver braided hose under the boiler—and open the small black valves to let more water in until the needle hits the right spot.
Practical Next Steps for a Warm Home
Don't just fix it and forget it. If you're finding that you have to bleed the same radiator every single month, you have a bigger issue. It could be a tiny leak somewhere in the pipework or an issue with the expansion vessel in your boiler. Constant air entry can also lead to internal corrosion, as oxygen is the enemy of iron radiators.
- Check the junk drawer one last time. Seriously, they usually hide under old batteries.
- Inspect all valves. Check for a "slotted" head first. If you have them, a screwdriver is your best friend.
- Buy a multi-pack of keys. They are dirt cheap. Buy three and tape one to the top of your boiler. Future you will be incredibly grateful.
- Monitor your pressure. After bleeding, always check the boiler gauge. If it’s in the red, you need to top it up before trying to start the heat.
- Check for leaks. After you've tightened the valve back up with your pliers or screwdriver, come back an hour later with a dry paper towel. Wipe the valve. If the towel stays dry, you’re golden. If it’s damp, give it a tiny bit more of a turn.
Getting your heating back to 100% shouldn't require a specialized toolkit. Most of the time, a bit of common sense and a steady hand with a pair of pliers is all it takes to get that cold radiator pumping out heat again. Just remember: be gentle with the brass, keep the towels handy, and always check the pressure gauge when you're done.